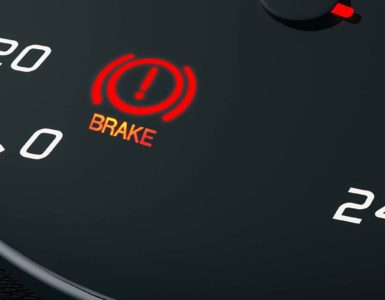
Changing brake pads in your own garage can save you hundreds of dollars.
Here are the steps for changing the brake pads on your car, truck, or SUV. Follow along as we change the brake pads on a 2015 Honda CRV. The steps should be similar for your vehicle, but be sure to have your owner’s manual handy to look up any differences.
You Need These Tools To Change Brake Pads
- Floor jack and jack stands rated for the weight of your vehicle (We used a three-ton floor jack and a pair of two-ton jack stands.)
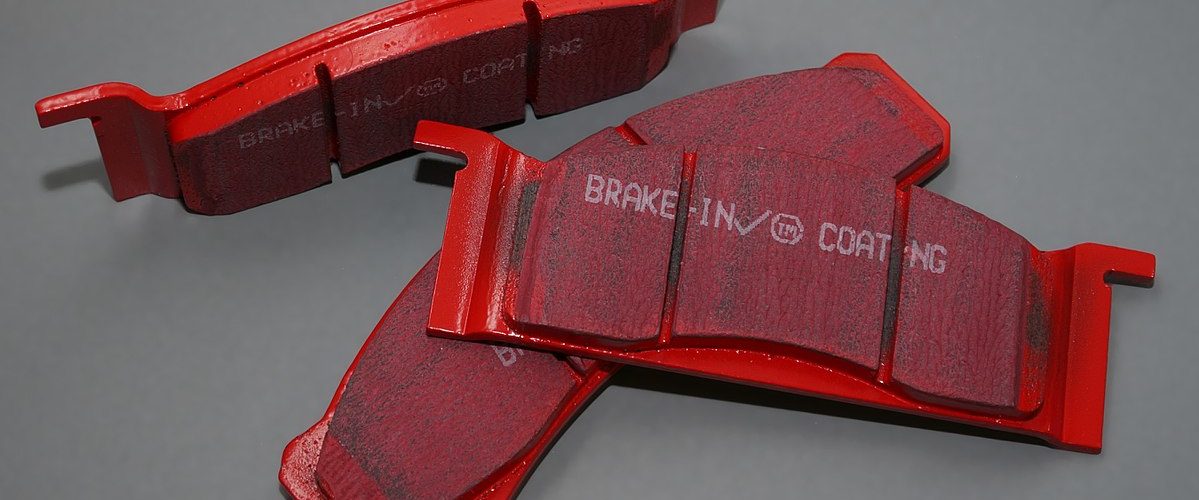
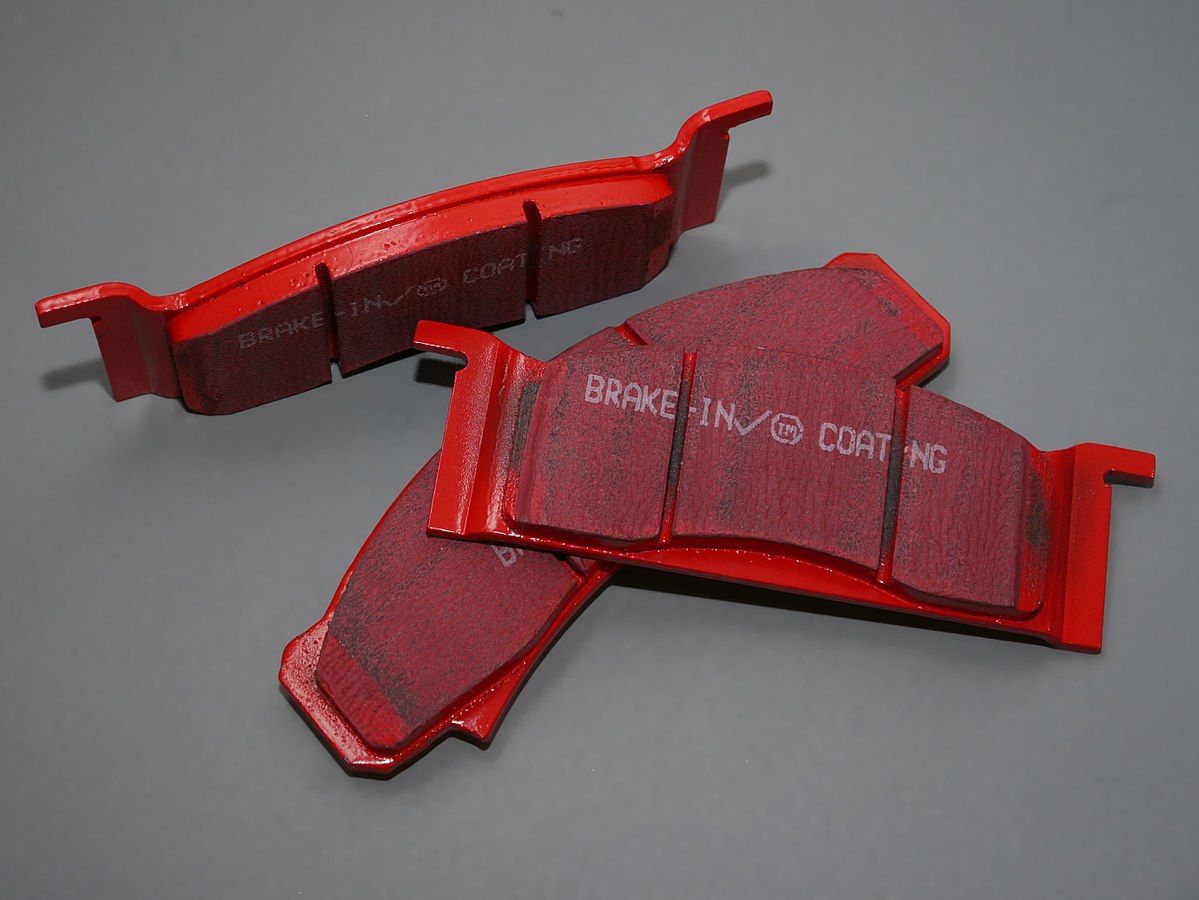
- Set of replacement brake pads
- The tire iron that came with your car
- A brake tool
- Tube of brake grease
- Socket wrench
Brake Pad Instructions
- Use your tire iron to loosen the lug nuts on the same wheels that you’ll be changing the brake pads on. It is best to do one end of the vehicle at a time, not all four at once. As you lift the car on the jack you’ll lose the natural resistance you need to remove these lug nuts. Get them started now. Don’t remove the lug nuts entirely until later.
- Position the floor jack underneath your vehicle. Consult your owner’s manual to find where it is safe to jack the car up. You can severely damage your car if you use a jack on an unsafe or unstable part of your car.
- Lift the car high enough to place a jack stand underneath it. Project stands should also be placed under the car. Never work underneath a car that is solely supported by a jack. Once the jack stand is positioned correctly, lower the car onto the jack stand and remove the floor jack.
- Finish removing the lug nuts from your tire. Set these aside in a safe place where you won’t lose them.
- Remove the wheel/ tire and set it aside. Now you should be able to see your brake rotor and brake caliper assembly.
- Using a socket wrench, remove the two bolts located at the top and bottom of the interior side of the caliper assembly. Some mechanics on certain vehicles will remove just the bottom or top bolt depending on the caliper design. This allows you to rotate the brake caliper and prepare to remove the brake pads. If that’s not possible, remove both bolts.
- The brake caliper will still be attached to the brake line. Do not let the calipers hang from the brake lines. Use a bungee cord to support the caliper once you remove the bolts. (Want to know more about calipers? Read this.)
- Remove the caliper assembly from the rotor to reveal the brake pads. If you’re not replacing your rotors, you can lay the assembly on top of the rotor (or hang it securely).
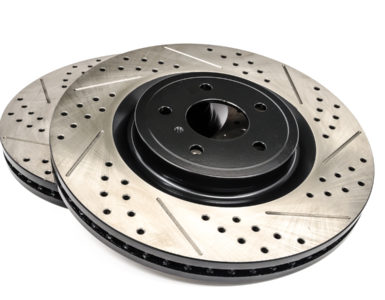
- Remove the brake pads from the rotor. Be careful not to scratch or damage the rotor. This is also a good time to take a measurement of the thickness of your rotor. Your owner’s manual should tell you the minimum thickness for your rotor. As you remove the brake pads, be mindful of the clips that hold them in place. If any of these have been damaged, you can install the replacement clips that usually come in the box with your new brake pads.
- Before you install your new brake pads, apply a thin layer of brake grease to the metal plates on the BACK of the pads. This helps prevent squealing and squeaking during normal operation. Wear protective gloves to prevent the grease from getting on your skin, and do not allow any grease to get on the front of the pads or on the rotors. Getting grease on your brake pads may cause your brakes not to function correctly.
- Replace the brake pads following the same steps but in reverse order. Some replacement brake pads come with clips pre-installed but you may need to add them yourself. Once again, be careful during this step to avoid getting any grease on the rotors.
- Adjust the caliper assembly to fit the new thicker brake pads. To do this, insert one of the old brake pads inside the caliper assembly against the large circular piston(s). Using your brake tool, adjust until it is tight between the caliper clamps. Rotate the brake insertion tool handle until the piston has fully pressed back into the caliper assembly. Some vehicle models will require you to relieve the brake fluid pressure in the system by removing the brake master cylinder cap or cover, which is typically located on the firewall (under the hood) of the vehicle on front-engined vehicles.
- The piston assembly should fit over the brake pads. Make sure your new brake pads are in a position to make contact with each side of the brake rotor.
- Insert the bolts and tighten to specification. If you’re working on the front of the vehicle, rotate the brake assembly left and right to mimic the movement of steering from left to right. Make sure all moves freely with no brake line restrictions.
- If all is looking good and you are not seeing other obvious concerns such as leaking brake fluid or parts that are out of place, you can reinstall your wheels and hand tighten the lug nuts to keep them in place, then snug them just a bit more in a cross-pattern. If you’re torquing to spec by hand, you’ll find it is easier to do this once the vehicle is lowered. It is a bit tricky to torque the wheels in place while the vehicle is in the air, but doable if you have the right tools. Most do this when the vehicle is on the ground.
- Once your wheel is secure and in place, put the floor jack underneath your vehicle again and lift it high enough to remove your jack stand and lower your car.
- Check wheel lug nut torque once again. Use a cross-pattern when torquing your wheels onto the lugs using the tire iron or appropriate-sized socket. Once everything is tight and checked, walk around your vehicle and make sure nothing is left around the vehicle that could be run over.
- Get in the vehicle and pump the brakes. The pedal should get firmer after a few pumps. Start the car and you may then feel the brake pedal relax just a bit and you can pump it again. As long as it doesn’t go to the floor, all is clear. Move the vehicle slowly just a few feet and press the brake pedal again to slow/stop the car. If all checks out well, go for a slow drive and keep testing the brake pedal to be sure you can stop the vehicle as you test it a few more times. If all feels great, then you can go for a short drive and test again.
- If all is well, you can begin bedding in your brake pads.
For details on changing brake rotors, read this blog post on BuyBrakes.com.
Summary
Article Name
The Brake Pad Change Out
Description
Changing brake pads in your own garage isn’t difficult, but doing so typically saves over one-hundred to three-hundred dollars per end of a vehicle once you’ve learned the process.
Author
John Butler
Publisher Name
Buy Brakes
Publisher Logo