If you fancy changing your own brakes out, here’s a straightforward set of instructions.
Tools needed:
- Torque wrench
- Socket set
- Powered wrench
- Hammer
- Hammer punch
- Set of crescent wrenches
- Necessary replacement pads
- Digital caliper
- Jack
- Jack stands
- Fluid catch-container
- ¼” clear flexi-tube to bleed the brake system
- Can of brake parts cleaner
- Can of brake fluid
- Spray brake lubricant
Once you have all the right elements in hand, the process follows this set of steps:
- Remove the wheel
- Remove the caliper retention pins
- Remove the caliper retention spring
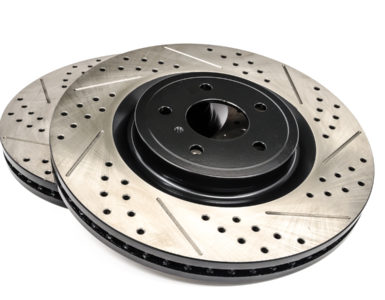
- Inspect the rotor face for any visual damage. Ensure that the rotor thickness is nominal. (This value is typically stamped on the rotor hub.) Use a digital caliper to measure proper thickness.
- Place a properly-sized box wrench over the caliper’s bleed screw
- Place the clear flexi-tube over the top of the bleed screw, open the port, and squeeze the piston/pad integration together, thereby bleeding the caliper of any captured brake fluid. Once the process is complete, re-tighten the screw.
- Slide both the front/back brake pads out of the caliper
- Remove and retain any original anti-squeal shims, as they will be used for the replacement pads
- Clean the entire brake assembly with chemical liquid
- Add brake lubricant to the anti-squeal shims and replace them on the new pads. (Avoid allowing any brake lubricant to touch the pad faces themselves. Only handle the pads on the sides of each part when installing the anti-squeal shims.)
- Slide the replacement pads/shims into the calipers, ensuring that all pin-holes line up accordingly
- Return the retention spring
- Return the retention pins
- Repeat the same process for all other three wheels if necessary
This is a typical set of steps. Each brake brand requires different components and affiliate elements so adjust accordingly.
Now, to do the rotors, gather these tools:
- Pry device like a flathead screwdriver or small pry bar
- Ratchet set including sockets in either metric or imperial sizes
- Breaker bar
- Torque wrench
- Brake compression tool used to remove caliper retention elements
- Brake cleaning solution
- Brake grease
- Jack and jack stand
- If necessary, a fluid capture vessel for use in bleeding the brakes and removing the calipers
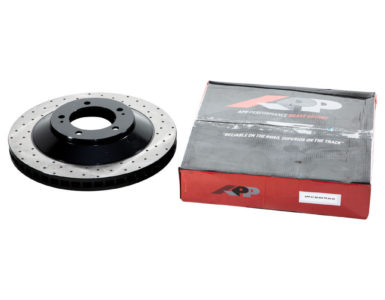
- Necessary pads and rotors. If you’re going to do the rotors, you may as well do the pads at the same time
Once you have all these pieces in hand, here’s the process:
- Open the caliper clamshell by removing the bolts. Bolt heads are typically found on the backside of the caliper.
- Rotate the caliper at the top of the assembly. Once the bolts are loose the second step usually requires a pry tool.
- Slide the brake pads out of the brake assembly
- Unbolt the caliper/knuckle and remove the bolt
- Remove the second bolt. Be mindful to hold on to the caliper firmly; then set the caliper aside.
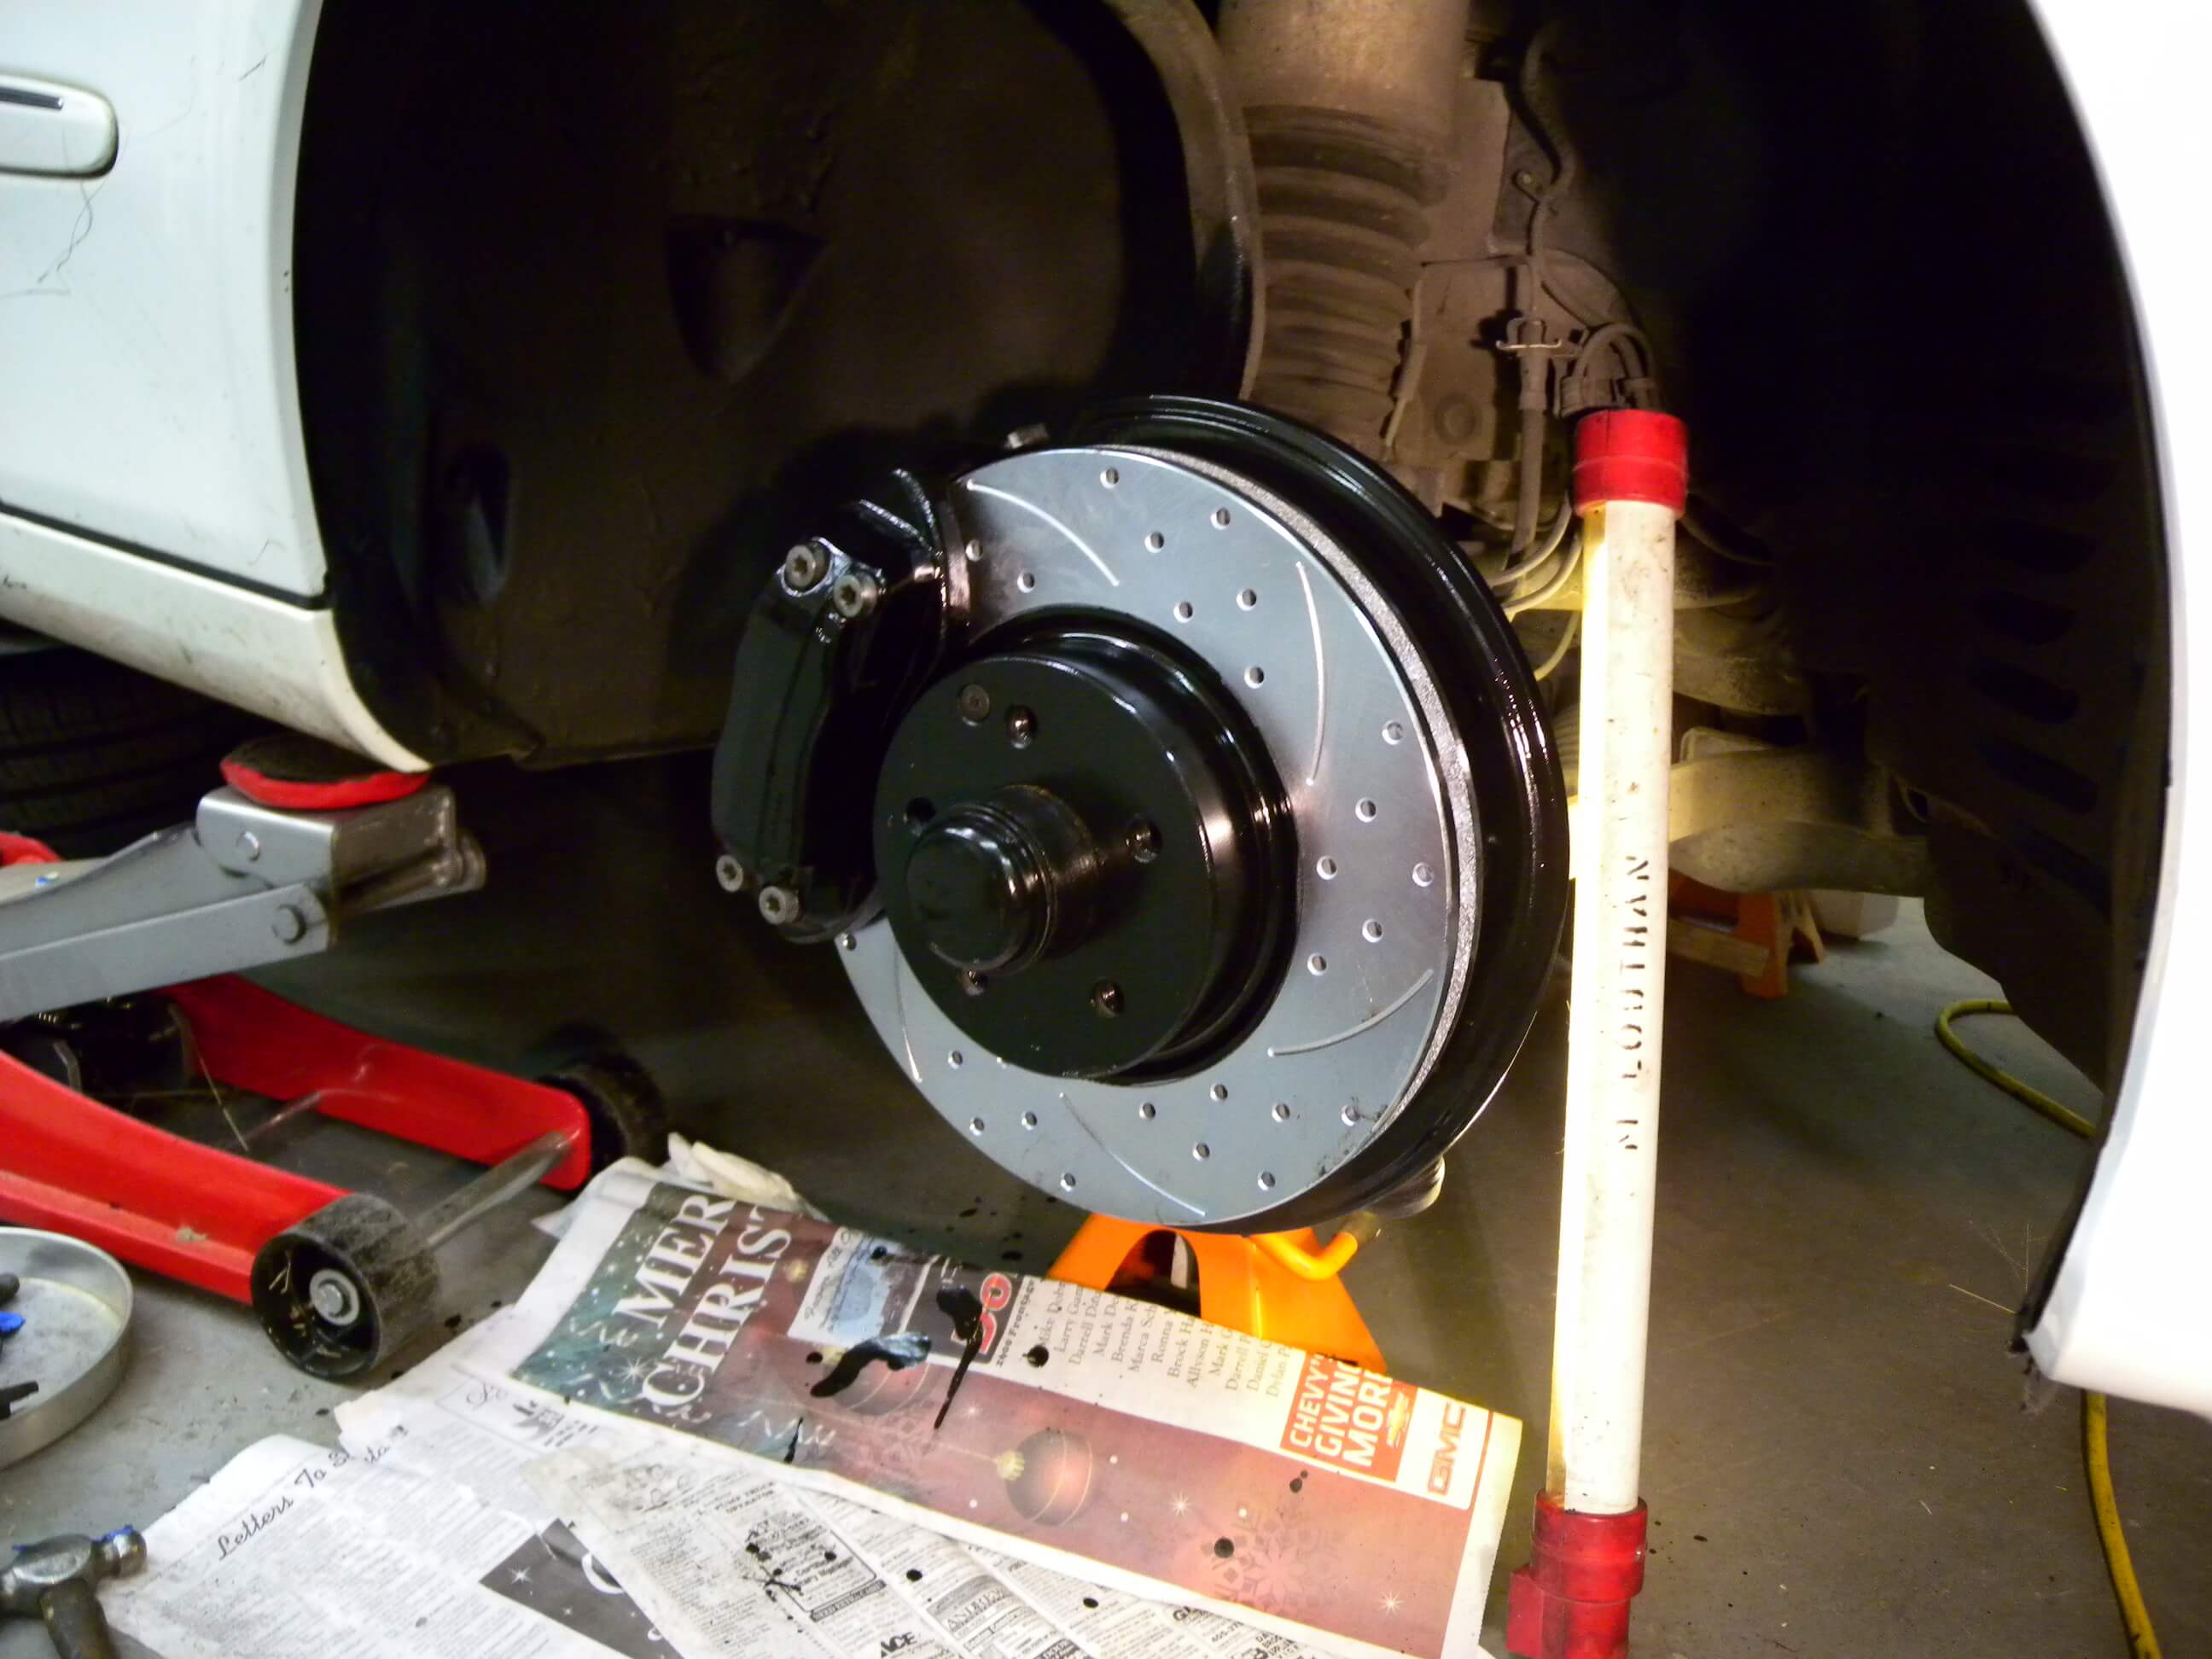
- Once the wheel nuts are off the brake assembly, the rotor should be open to access
- Install a new rotor unit; then follow the same process in reverse
So, there you go. A replacement method for both pads and rotors.
Summary
Article Name
How To Change Brake Pads and Rotors
Description
If you fancy changing your own brakes out, here’s a pretty straightforward set of instructions.
Author
Rick Carlton
Publisher Name
Buy Brakes
Publisher Logo