Did you know that rotors have a minimum thickness? It’s for your safety. If your rotors wear too thin, your vehicle’s braking performance becomes much less reliable.
Rotors that are too thin:
- Can’t absorb and dissipate heat that well
- Are weaker, therefore they can crack easier
- Are harder for the calipers and brake pads to grip firmly
When your rotors wear too thin, the best thing to do is replace them ASAP. In this guide, we’ll show you how to check the thickness of your brake discs.
When To Check Your Brake Rotor Thickness
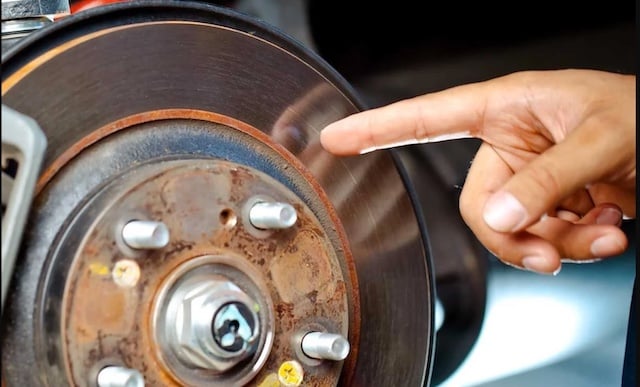
Image Credit: FamilyHandyman
Brake rotors last about 70,000 miles. Around that point, rotors can become too thin. There may be irregular wear, as well. It’s a good idea to check the thickness of your rotors (as well as your brake pad friction material) every 10,000 miles. This way, you can catch any issues early on. You’ll be able to resurface or replace your rotors before your vehicle’s braking performance gets too bad.
If you notice any signs of brake rotors that have become misshapen or worn too thin, check the disc thickness ASAP. Some of the most common signs include:
- Squealing brakes
- Longer stopping distances
- The vehicle pulling to one side when braking
- The brake pedal fluttering when you press on it
What Tools You’ll Need To Check The Disc Thickness
To check the disc thickness, you would need to lift your vehicle, remove the wheels, and then measure the thickness. You’ll need the following tools:
- Car jack and jack stands
- Lug nut wrench or impact driver
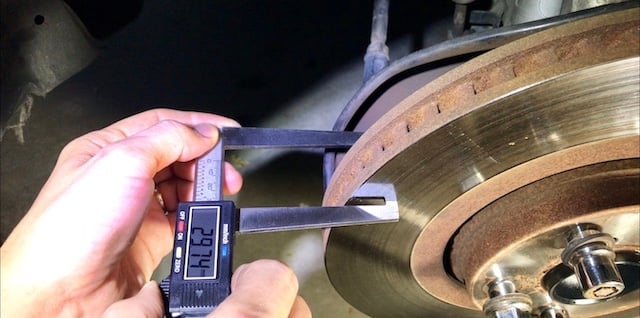
- Micrometer
A micrometer is a measuring instrument that can provide quick and accurate measurements. Many auto parts stores carry quality micrometers.
How To Find Out The Minimum Thickness Of A Rotor
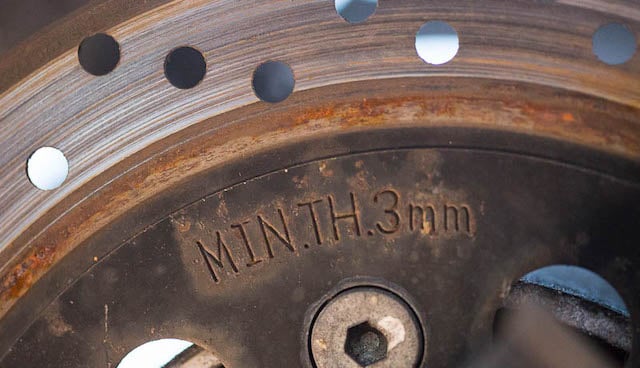
When you have the rotor in front of you, don’t forget to find out its minimum thickness. If the rotor thickness is above the minimum amount, the rotor should still be safe to use. The minimum thickness is usually stamped on the rotor in one of the following locations:
- The hat of the rotor
- Within the veins of the rotor
- On the sides of the rotor
Steps To Take
- Raise the vehicle and support it with jack stands.
- Remove the lug nuts from the wheels.
- Remove the wheels.
- Inspect the braking surface.
- If you find any cracks or signs of damage, you need to resurface or replace the rotor ASAP.
- With the micrometer, measure the brake rotor thickness 10mm into the outer circumference of the rotor. Write down the measurement.
- Measure the rotor again 7 more times, at every 45 degrees.
- See if the measurements are above the minimum thickness. Also look for disc thickness variation. If there are any noticeable differences between the measurements, the rotor isn’t as smooth and even as it should be. If it’s thick enough, you can have it resurfaced. If it’s not thick enough, replace the rotors.
If you’re wondering what you can do with your old rotors, you can discard, recycle, or repurpose them.